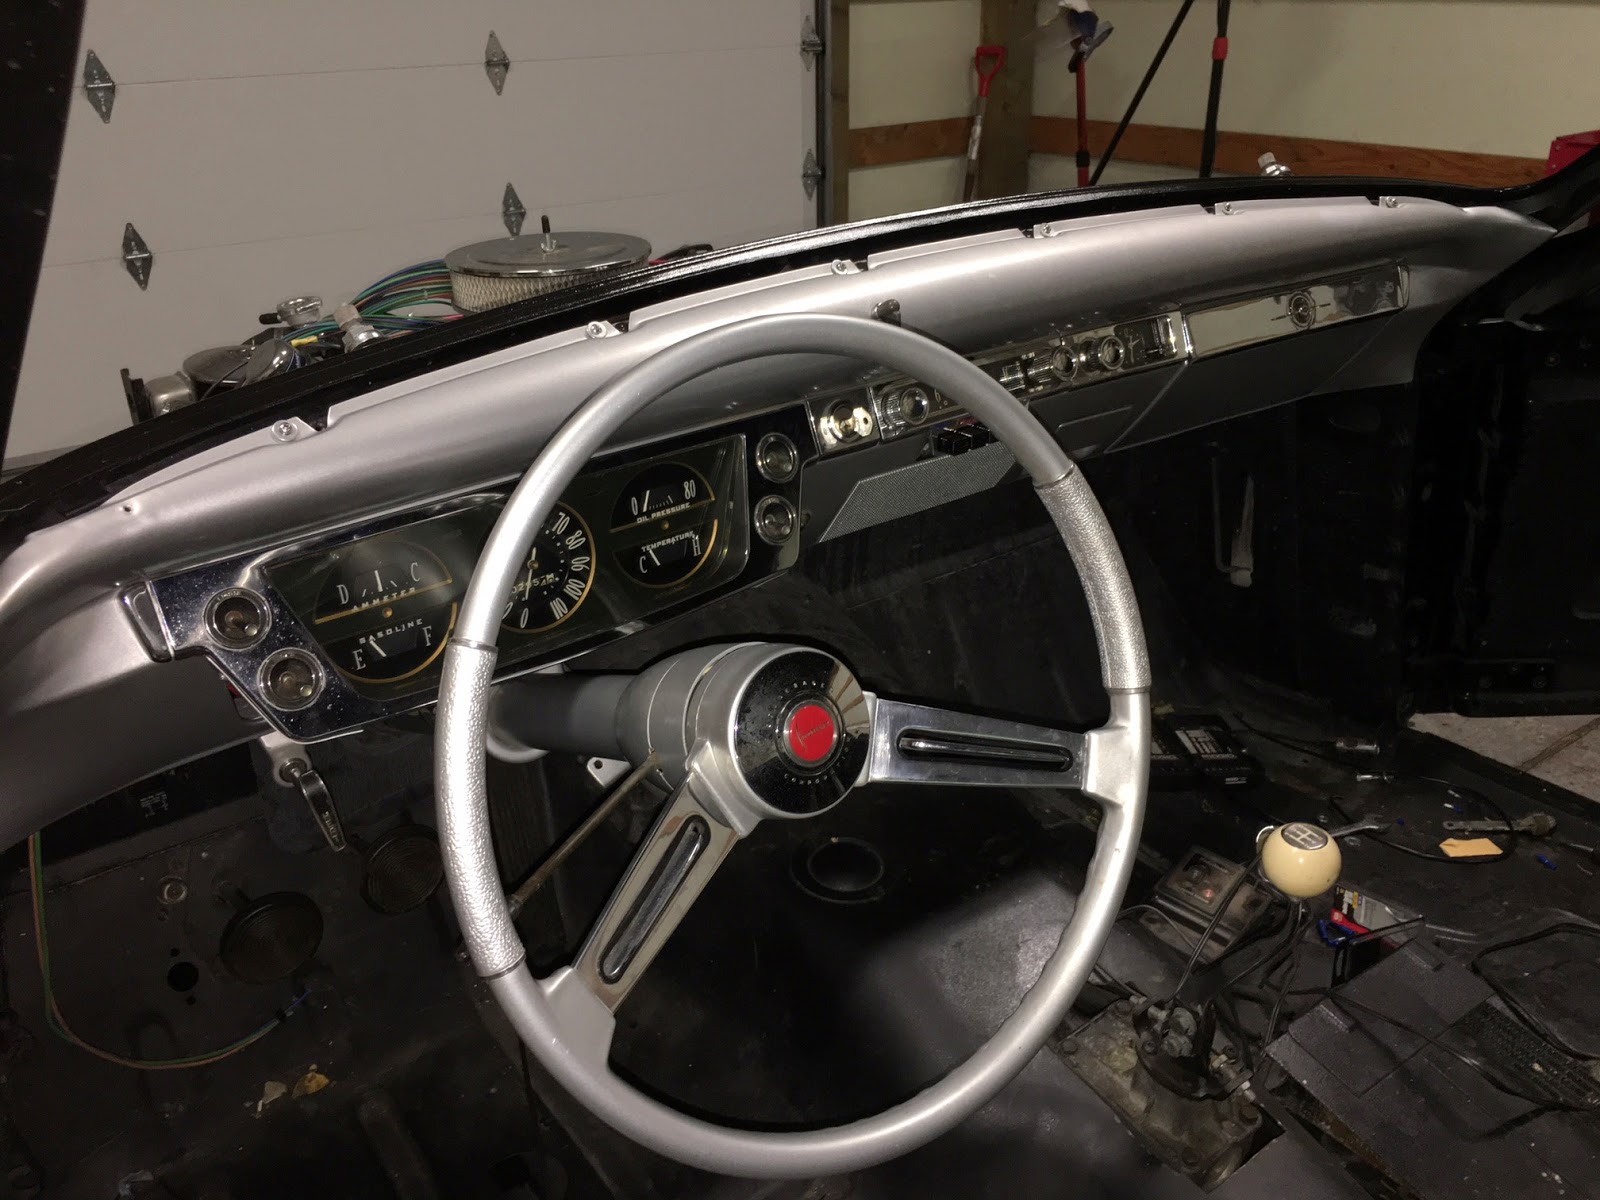
First up, the instrument cluster.
 |
| That's the old wiring on the top |
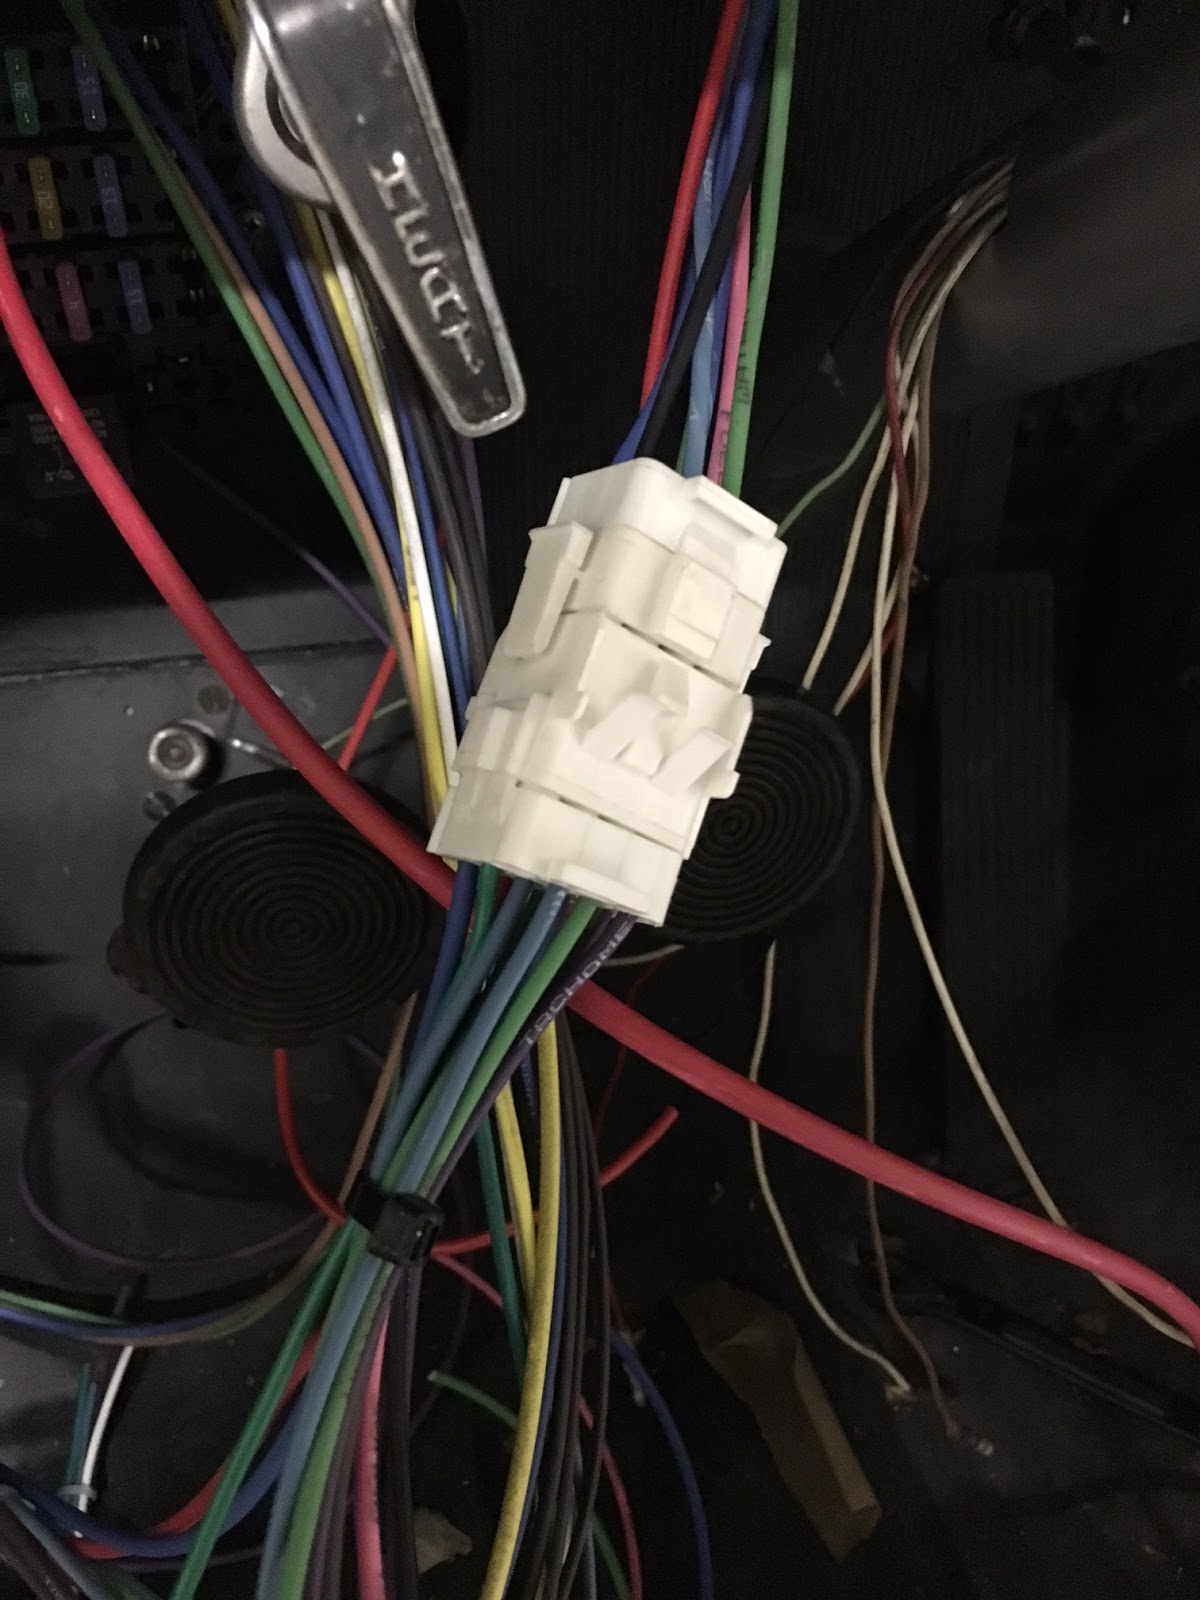
I'm putting modern wiring in the car. So basically it is a process of translating the wiring diagram for the new kit, which is 12-volt negative ground, the old wiring diagram from the car, which was 6-volt positive ground, and then figuring out any additional accessories or upgrades I may have added. The process, once I identify which wire goes where, is to slide on a piece of heat shrink tubing, put the appropriate connector in place, crimp it, then shrink the heat shrink. It is a bit tedious, and required all of my concentration at times. So I didn't end up taking many pics--there's plenty of instructions out there if you're curious.
Next, I made a small bracket to mount the fuse panel to the inside of the firewall. Nothing special, just some measuring and bending a small piece of sheet metal. Here it is all in place.

Then it was simply a matter of tucking everything in place. I used lots of zip ties to keep things neat and orderly. I'm really pleased with the end result: