Wednesday, December 25, 2013

Converting gauge cluster to 12-volt

First, let me start this post by letting everyone know that I actually own two gauge clusters for the Studebaker, and that through this process I will be combining parts from both as I do this conversion; it is not my intention to confuse anyone, although if you'd like to turn this into a game of spotting the differences between the pictures, feel free.


Ok, with the official disclaimer out of the way, let's launch into the project.

I've done two things to the Studebaker resulting in a major impact on the gauges: first, I've put a different engine in it, which has different sensor output than the gauges are used to receiving, and second, I've switched it from 6-volt positive ground to 12-volt negative ground (the modern standard for the majority of automobiles.) While it would be possible to hook the gauges up to a twelve-volt signal using a step-down converter such as a Runtz capacitor, I would still not be sure how accurately they would read with the signal from the V8's sensors.  Fortunately, there's a relatively painless solution: the individual gauges from a 63-66 Studebaker Lark will fit with minor modification and are a match to the sensors on the new engine.

Here's the gauge cluster at the start:


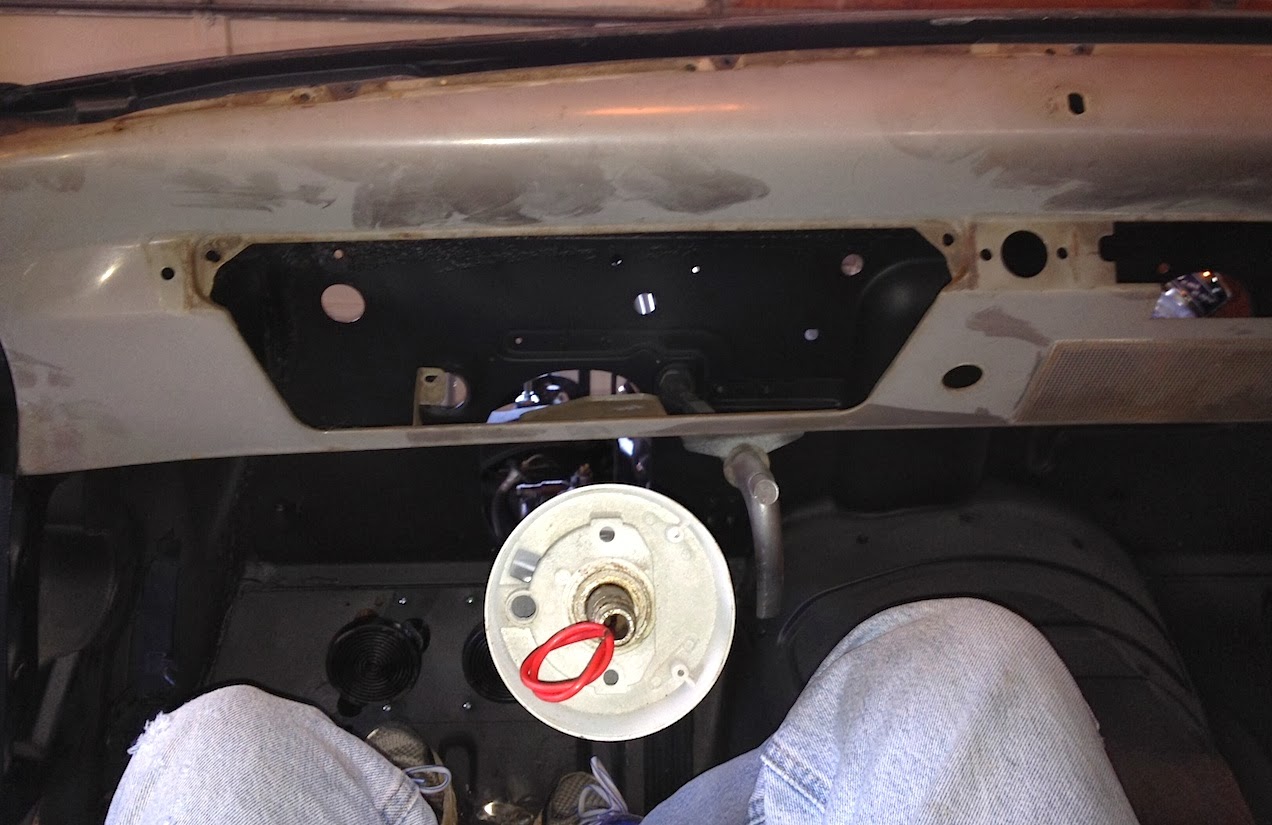
The piece that contains the gauges detaches from the rest of the assembly by removing 6 screws:


Next, the old brittle wires were removed by pulling the bulb housings and removing the nuts from the back of the gauges.


The gauges are now easily removed.


Of course, I wanted to see if the new gauges really fit, so I tossed the temperature gauge in place. Then it was cleaning time.


The light, robin-egg blue color supposedly reflects a softer light across the gauges.  It cleaned up nicely--no need to repaint. Time to trim the two lower gauges (the others were just fine) and then  throw everything in place.


Hmm,  should I paint the speedometer needle orange, or the other needles white? Although that would be less work, I'm not sure how well that would go with the gold trim. Time for more cleaning. . .light soap and water for the glass bits, and a bit of microfiber and wax for the metal parts, with a light coating and buffing over the glass as well.

Oops!
Complete--for now. I need put the lights in place (they simply snap into holes in the back) but want to see if I can source new replacements for those. And there needs to be a bit more cleaning around the switches, but that will wait for another day.


Saturday, December 21, 2013

Not so fast, Houston

Sometimes I act before fully thinking through a problem. Not very often, thankfully, but it does happen occasionally.

I figured out that the steering box has room for a tiny bit of adjustment, and, after loosening the three bolts that hold it to the frame discovered that small movement at the fulcrum made a difference of several inches at the end of that lever. Here it is, in the proper position:


So where exactly does the act come in to play here? Well, I bought an Avanti steering column to match the Avanti steering wheel that I obtained a few months ago and it is being shipped here now.  So, if nothing else, I'll have a couple of options.  There's still a bit of work to get my old steering wheel to match up to the new column (for instance, the steering shaft diamater is smaller than the original) but at least it the wheel won't be resting on my legs when I'm driving.

I also got the parts I needed to install the rear shocks today. Of course, nothing could just be a bolt in--the lower mount that came with the shocks was a slightly larger diameter than the hole in the spring plate.

That shock mount is really thick!
After drilling the plate to the right diameter, everything just slid together nicely.

Getting closer!


Monday, December 9, 2013

Houston, we have a problem!

It was too cold to do too much work this weekend in my unheated garage (my little space heater just couldn't keep up with temps in the single digits) but there were a few things I could do that wouldn't take much time and I could still feel like I accomplished something.

One of those things was to install the old bench seat in the car to make it easier for my assistant to depress the brake pedal when we bleed the brakes in the near future. The frame barely fit behind the shifter, but with a little wriggling I managed to get everything bolted down. Unfortunately, it was then that I discovered the steering column seemed unusually close to the top of my thighs.

Time to put the dash in place to see if I'm just imaging things.


That's a good 2 to 3 inches below where it should be.

Apparently, the mounting bracket on the GT Hawk steering box, which bolted right up to the frame, is clocked slightly different from the earlier box that came in my champion.

This leaves me with a few options:
  • I could go back to my original manual steering box and column. The ratio is the same as the existing box, but would require a modified pitman arm.
  • I could make adjustments to the frame to change the angle of the column. While this seems the easiest option, the fear here would be that this would weaken the frame. The mounting bracket on the box itself is integral, and is cast in such a way that it is not conducive to the necessary modifications.
  • I could modify the GT column, shortening the shaft and the column, terminating it at the firewall and adding a couple of u-joints in the shaft to join it to the steering box. This would require an addition of a plate and mounting bracket to hold the column in place at the firewall.
  • I could buy an aftermarket steering column and, as above, terminate it at the firewall. This would save time while adding the advantage of plug and play wiring for the turn signal switch. However, it would likely result in the inability to use an original Studebaker steering wheel--something I would prefer to retain.
So I have a few things to ponder, which is just fine for now--I'm not too anxious to return to that cold garage.

Sunday, December 1, 2013

The "it was bugging me" weekend

When I purchased the 64 GT Hawk drive train from a fellow local SDC member, he'd mentioned that he'd recently done the rear brakes. And of course, I had no reason to doubt him but I've always wondered if that had included new wheel cylinders. When I installed the rear end and set up the brake lines, I flushed everything out as good as I could; nevertheless, I still had that nagging feeling that I really should have inspected things and replaced the wheel cylinders.

So I ordered new wheel cylinders (they're readily available and inexpensive) and this weekend popped the drums off for a look around:

Things were a little dirty (as expected) but there was plenty of pad left and the inside of the drums were in good shape. So I popped off the springs, removed the wheel cylinder, doused everything with brake cleaner and slapped things back together with the new cylinders. It was then lather, rinse repeat on the other side.  That's one less thing to worry about.

Then it was on to the leaking pinion seal.

First, a quick clean up of the area around the nut, as well as marking the position so I re-install it correctly.


 Then a quick hit with a 1-1/8th inch socket on an impact wrench to remove the nut, followed by more cleaning after letting a little fluid drain out.

Cleaning almost completed.
Next, after a smear of black RTV sealant around the edge and at the back of the splines, I installed the seal using a piece of PVC pipe and a few light taps from a hammer


Then the pinion is slid back into place. A smear of black RTV sealant on the back of the washer, and the washer and nut are put into place and snugged up. Next, I needed a little assistance from my version of the special tool needed to keep the pinion from turning as I snugged that bolt back to 150 ft-lbs.

150 ft-lbs is a LOT on your back under a car


And now I wait 24 hours for the RTV to dry before topping off the fluid.

fingers crossed that did the trick!
Not very exciting, but now I can move on without worry. And my garage floor will be a bit less greasy as well.