Okay, I'm done whining now.
As I'd mentioned earlier, I'd picked up what's known in Studebaker circles as a batwing. Studebaker started installing a batwing on their hardtop (Starliner) models in late 53, and had them on all coupe and hardtop models (Starlight, Starliner, then the various Hawks) for the rest of production. The batwing added much-needed stiffening to the frame, not only tying the two sides together, but adding strength to the body mount under the outer edge of the cowl.
Since it had been under a car for over 50 years, it was a little rusty. I played around with the idea of cleaning it up with a wire brush, but after a good look I decided to have it sandblasted and primed by the same folks who did the rest of the car. A few days later, I picked it up, then sat it aside as I worked on other parts of the car.
 | |
| Cleaned, primed, painted and resting on the front of the car, waiting for me to get around to it. |
.JPG)
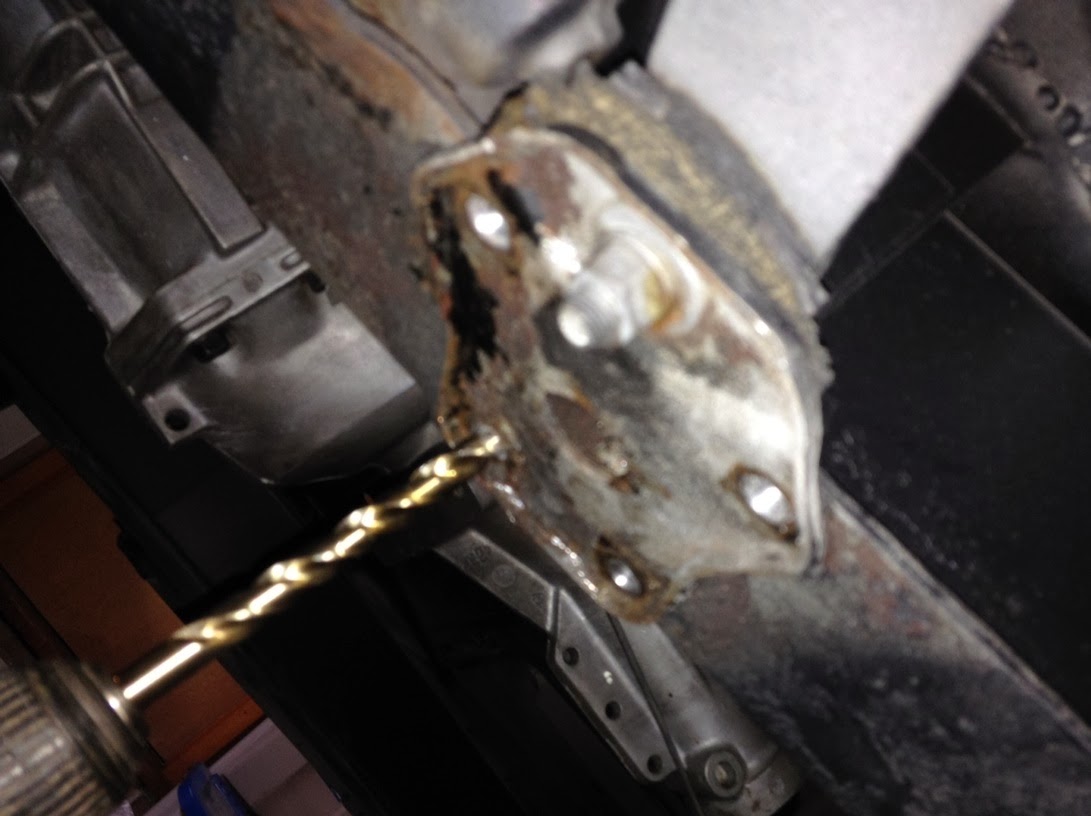 |

Then it became a struggle--the fit is incredibly tight, so I had to lightly file the bolt holes to give me a little wriggle room. A lot of prying, flexing, tapping lightly with a hammer...and finally, I managed to bolt it into place loosely. I then had to drill a hole in the body support for the outside bolt (seen at the top of the picture below) on each side, add another rubber pad, and once everything was in place, snug everything down.

That took a lot longer than I expected. I'll be glad when I finish up the work on the underside of the car.
No comments:
Post a Comment